Pinterest

Follow Me on Pinterest

Sunday 30 October 2011

A Perfect Pair
{SOLD}


I am back from a really great week in Palm Springs with a few friends. It was everything it was supposed to be ~ hot, relaxing and full of opportunities for shopping and pool time. I know that I posted a few pictures before I left of items that are coming up, but I picked these up and decided to attack these first.

They had lived a very full life and could probably tell a few stories, judging from the battle scars.


The colour of the finish was very dated, but these guys were still extremely solid and I loved the shape of the legs. Plus, it is always a big score to find TWO matching tables!

I decided to paint them gray ~ I used Graystone from the Benjamin Moore Natura line. I really love this colour as it is a true gray and acts very neutral. Distressing the tables really worked to make them unique and a pretty pair.

I think they would work well in a smaller living room or as night tables in a bedroom. They have a charm that I am really pleased with!

Each table measures

21" deep
24" wide
19" tall

If you are interested in this pair, shoot me an email at lisabaron70@gmail.com or check out the kijiji ad here.

I am also happy to discuss any custom work that you might have in mind for a piece of furniture that needs a makeover. I love to see these dusty guys reach new levels of beautiful!

Wednesday 19 October 2011

    Refreshing...
It's not just for Furniture.

As I write this, my suitcase sits, unpacked in my closet. I am leaving on a plane tomorrow morning to a nice, sunny and warm place with no children or meetings or lists to write. My husband is holding down the rodeo here with the kids, his job, soccer, track, volleyball, birthday parties, spelling tests and piano lessons. There are probably a few more things that I forgot. Anyway, I am off for a few days of refuelling so I won't be listing anything until the end of next week. 

I thought I would leave a sneak-peak of what I have in the works right now.


This desk/chair combo is a commission for a good friend of mine. It is pretty much complete and I am anxious to share it. I had some fun with the chair and I think it paid off!


This was a thrift store find from Edmonton. 


This amazing cabinet was a score from Kijiji and it was purchased with my son's bedroom in mind. It just needs some final touches and will then be ready for installation. His room is going through a makeover right now and I hope it comes together well enough to share here. 


A local thrift store treasure ~ I  may have a home for this so I am not sure that I will be able to give it up....


This is an incredible vanity table with LOADS of jewelry storage. It is a commission piece and I am excited to get working on it.


And ~ a moose antler! Decorating with antlers is fun!

So thanks for your patience for the next week or so. If you have a project you would like to discuss, please shoot me an email and we can make a plan! I hope to be back with lots of energy....


Sunday 16 October 2011

Taking Some Risks

I have been really trying to get our bedroom looking a little more sophisticated and a little less "college-y". Our kids are now closer to college than we are.

Last year I found a duvet cover that really inspired me. I can't tell you why, but I really fell in love with it. It just connected on a level that only a duvet cover can. If this has happened to you, you will know what I mean. It took a lot of work and a cross border trip to Montana to actually secure this linen, so I am very motivated to make it work for the long-term.

I have been working to incorporate a bench at the end of the bed. I am on a budget so I wanted to do it on the cheap. I found this bench on Kijiji and thought it would work after a little overhaul:


I sanded and sanded this baby and then sprayed it a green to match my beloved duvet. I went to re-upholster the top and as I took off the old fabric, I realized that the whole interior was soaking wet and covered in MOULD! Out to the trash (while holding my breath!). It did seem dry to the touch, but it was really bad on the inside. This is a hazard of the second hand purchase. Anyway, I took a quick trip to Home Depot and they were more than happy to cut a piece of MDF to size for me. This was only another $8 or so. Good to breath non-mouldy air. I finished it with a less "cushy" layer of foam and I am really loving the way it turned out:


So the next thing was the night stands. I had been using Ikea tables. There was nothing really wrong with them. but I wanted to add a little more fun. I am not really a fan of the whole matchy-matchy bedroom set so I was happy to find this set of end tables and a coffee table:


Straight out of the 80s!

Did you know that if you use this


you can spray paint glass? This blew my mind a little bit so I was more than eager to give it a try.


I laid out the glass. I decided I wanted it to look a little bit fun so I picked up some vinyl decals at Dollarama.


I created a design on the glass and covered them with the frosted glass spray.


I covered that with the same green that I painted the bench with.


I then removed the decals. For the sharpest contrast, do this while the paint is still wet.

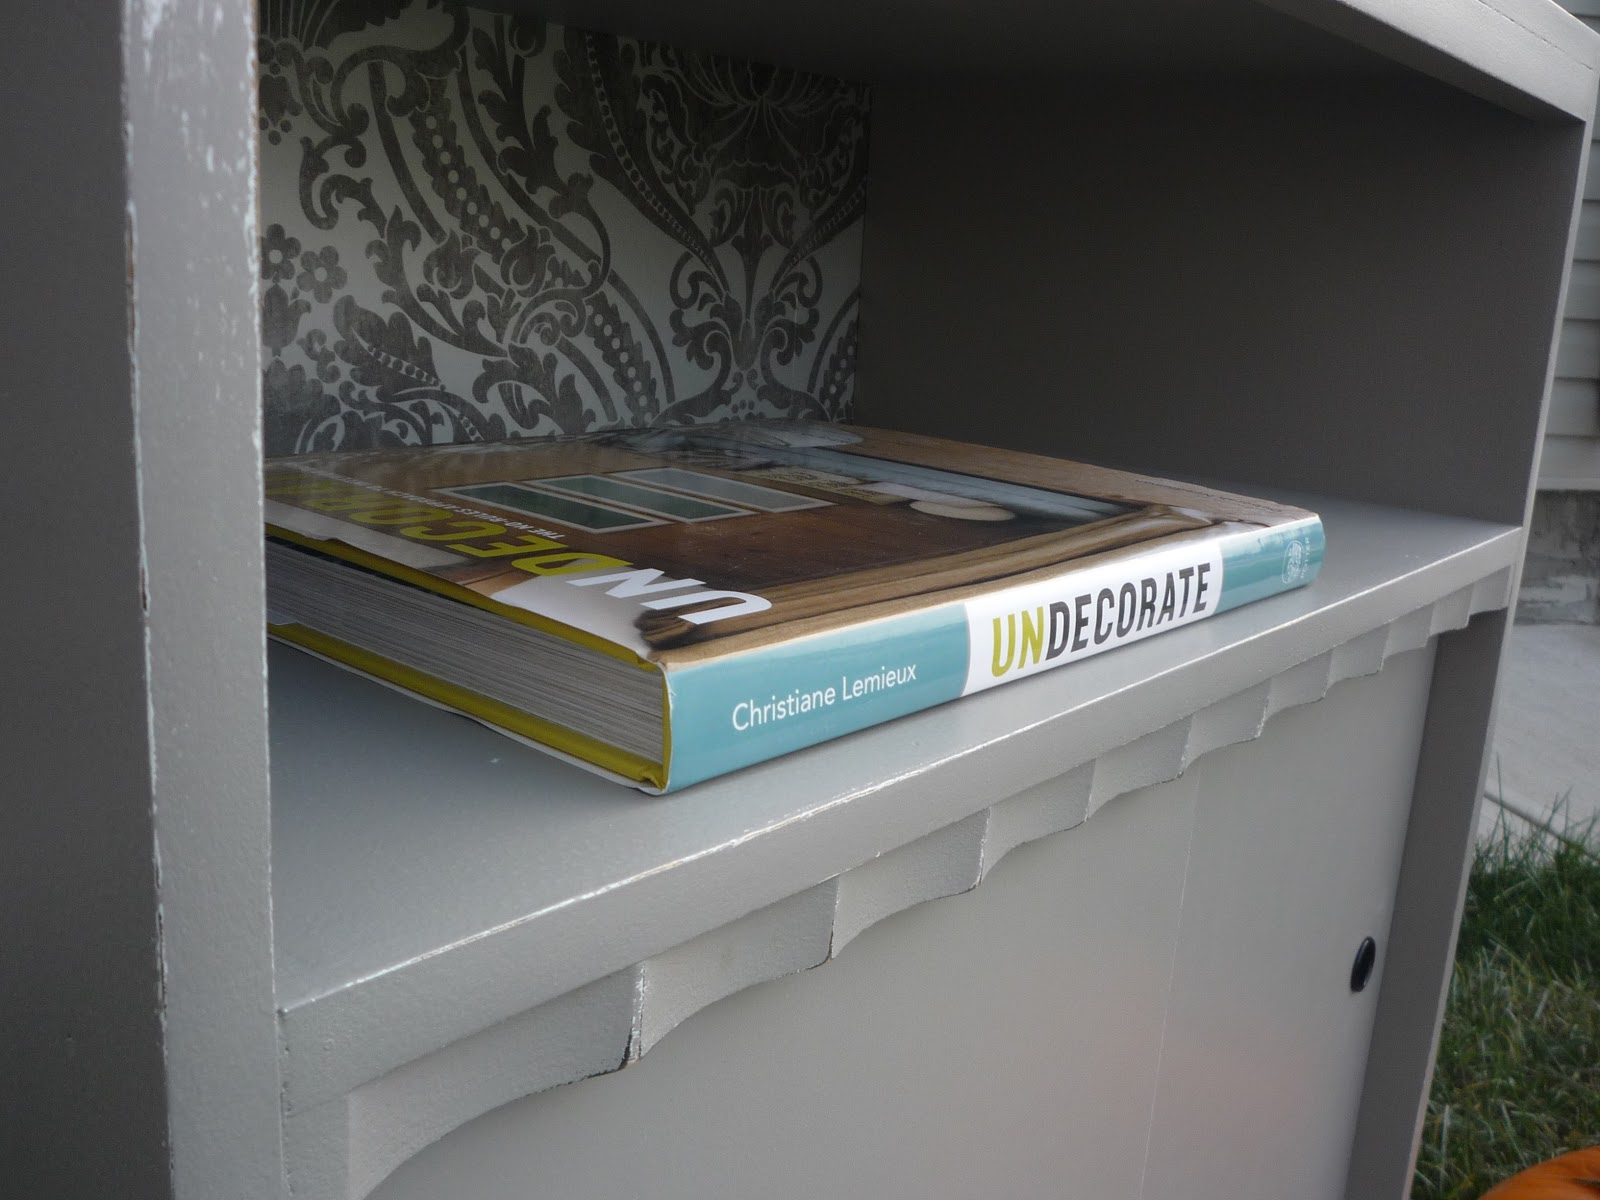
In the meantime I had painted the side tables a pale grey. I put it all together and was very pleased with myself!


There are TWO!


It is so great when things work out the way that you hope they will.

Anyway, I put it all together and I am very happy with the way it is coming together.


That is a coffee station in the corner. Early morning java is very important to me.... I think I will be moving that now as the tables take up a little more room.

The point is that sometime taking some risks can turn out alright and then your style can really shine through.

Wednesday 12 October 2011


Take a Little Stand...
{SOLD}


This is a strange little stand. I think it may have been used as a record player stand and or storage in a previous life. It is just so funky and a great size to use for added storage as well  as general coolness.


I found it sitting outside on the street in front of one of my favourite small town thrift stores. The top was deeply scratched, but she called my name!


The scalloping around the storage area really sold me! It is always those teeny little details that get me every time!


I did the usual treatment of sanding and priming and painting. I did lightly distress this piece as well. I thought that she need a bit more personality so I took the back off and slid out the record dividers and added some wallpaper.


I polished everything with a layer of wax for protection and she was all done. If you would prefer, the dividers come out fairly easily and could be removed for a more open storage option.


To be honest, I am having some trouble selling this gem as I think I have fallen in a little bit of love.


14 inches deep
23.75 inches wide
21.25  inches high


If you are on Facebook, I have a page there that will give you the updates as items are posted. Just go here to see the page. 


Please feel free to email me at lisabaron70@gmail.com if you have a project in mind that you would like to discuss.


You can also view this item on Kijiji.


Friday 7 October 2011

Super Fast Portrait Silhouettes

This is a super fast and trendy little project that is perfect if you happen to be hosting a crowd this weekend and need a little something special to fill in a neglected corner somewhere. I am sure there are lots of places on-line that will show you a beautiful way to accomplish this, but I like how quick and dirty this is.


What you need:

digital camera
basic photo editing software
heavy duty glue (I like GOOP)
picture hangers
roll of vinyl chalkboard (I found this at Dollarama for $1)
some sort of surface to hang put it on (plate, mirror, picture frame)

I took pictures of my kids in profile standing in front of a sunny window.


I just used the iPhoto editing tools included on my Mac and increased the contrast as much as I could and chose to convert it to black and white.


I printed these and cut them out (just choose an appropriate size for your project).

You can choose which was you would like them to face ~ just trace them onto the back of the chalkboard vinyl, then cut out the silhouette, peel the backing off and stick it on your chosen surface.


I found these crumpled edge metal plates at Urban Barn in the clearance area for about $5/ea. This would work well on a white plate or a frame with a nice fabric or paper under the glass as well.

After I had positioned the portraits, I glued a picture hanger on the back (be careful to centre it to your subject's head) using Goop.


That glue is like magic. I haven't found anything yet that it won't stick together.

Ta-Da!


That was about 10 or 15 minutes, at the most. I think my son's is a bit more successful as more of his features seem to show. I think it is his hair ~ maybe if I would do it again, I would try to be sure that my daughter's had something more distinctive showing, but overall, I think it works!

I had a couple of smaller platters that I had picked up at the same time and I decided to hang them all together.


Wednesday 5 October 2011

Approach the Bench
{SOLD}


I have had this bench in my basement waiting for something to happen for a few months. I found it at Value Village this summer and thought it had some potential. It was painted with a thick white paint which was dirty and very rough.


It was covered with a black vinyl which I removed to find another layer underneath. This would not be the first makeover!


I enlisted my 11 year old son to get started on the sanding ~ it needed a lot! 

I debated for a while over what colour and fabric I should use. I found this gorgeous slubby linen-look fabric on Etsy and purchased it with this bench in mind. I painted it a serious dark grey/taupe to match the parrot and give a fun contrast to the sunny yellow of the design on the rest of the fabric. 

It has been distressed lightly along the edges and finished with a smooth layer of furniture wax. It features a little hidden storage area and would be a perfect addition to a front entrance or tucked into a little corner in a bedroom. The perfect spot for guests to be able to put on shoes or store your wallet or keys as you walk in....


27.5 inches high
31.5 inches wide
15.75 inches deep

Drop me an email if you are interested in this pretty polly or see the Kijiji ad here.

Monday 3 October 2011

Serious Rehab

If you have been to this site before, you may notice that there have been a few changes! I had my super talented friend and cousin-in-law Lynn Baron create a logo for me and I am really happy with it! If you have a chance, take a look at some of her beautiful fabric designs over at Spoonflower ~ you can even order a selection if you wish. It feels good to freshen things up around here a little bit.


My beautiful friend and wonderful client Alicia has a eye for finding furniture in the worst possible shape and bringing it to me for rehab. I am humbled by her faith in what I can do... She is a wicked garage-saler and can find any deal worth making. In some ways, it is more fun to work on these decrepit pieces because the finished product is so dramatically different.


This is going to go in the bedroom of a sweet little 7 year old.


Such a sweet and charming little desk ~ perfect for a girl's room. A few short weeks ago this was not so innocent looking.


The handles were missing, there were stickers on the side, the drawers were falling apart and there were water stains on the top. Year of abuse had been heaped upon this poor little guy.


After a good sanding and wash down, the original sweetness started to show. I put the drawers back together and primed him up. He got a few good coats of White Cloud from Benjamin Moore and a little distressing and a good polish with a layer of furniture wax.


We didn't have all of the hardware, but I have a collection of old left overs from other projects. I found four pulls that went together and sprayed them with a primer and then with the lovely Ivy Green from Krylon. I think that the finished product is almost unrecognizable from where he started. I am sure that he not go back to his bad boy days after this makeover.


Thanks Alicia for all your faith in me! Keep these coming...


Now that we are settling into a fall routine, I have good intentions of posting more regularly and hopefully adding a few DIY posts as well. I have lots of things in the works and a few finished projects from my own house. I look forward to sharing them in the next few weeks.


If you come across anything that needs a little  (or a lot) of TLC, let me know if I can help you make it beautiful again!